MOTHER’S DAY CARD/FEAT SIMON SAYS STAMP
- Preeti

- May 24, 2019
- 2 min read
Hello friends,
It has been a really long time since I posted. I have been so busy and winter has not been very easy on the Chandran family. Now that the spring has finally arrived life is coming back “Literally”. I received the new Mother’s Day special edition stamp set (sorry the kit is sold out, but you can buys this stamp individually at the SSS store) from Simon Says Stamp last week and could not get to it until now. Lately I have been trying out new ways of making free hand backgrounds with stamps. I posted a card yesterday on IG with a another free hand background here
CREATING THE FREEHAND BACKGROUND:
To create the background I drew a template first , which makes it easier to ink blend the starburst. To make the starburst, I drew a circle on right edge of the card and drew rays from the circle to the edge of the cardstock. I hope the image below will give you an idea.
While drawing the rays make sure that the lines are narrow coming down from the circle and broader towards the edge of the paper. The rays don’t need to be all the same width a little bit of variation adds interest to the starburst. I then used Peacock Feathers and Tumbled Glass oxide inks to add color to the rays. While blending these color I made sure to be heavy handed on the narrow end and got lighter towards the edge. Also don’t forget to erase the pencil markers before blending as they will get trapped under the colored inks. Place the masking paper a smidge left to the pencil line, in order to erase it.
Tip: It is ok if the center of the circle looks unfinished and messy as this part will be covered with the focal elements of the card.
STAMPING AND COLORING THE FOCAL IMAGES:
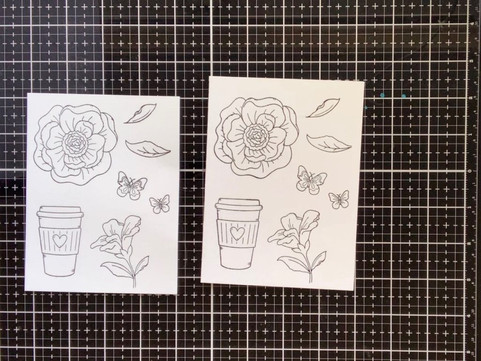
I chose the floral and the coffee cup images to stamp using versa fine black ink on a bristol smooth paper. After stamping the images it was time to color the images using Zig Real
Markers. Once the images where all colored, I fussy cut them using a detail scissor. It is always a good idea at go over the edge of the fussy cut images with black marker to give it a finished look.
ASSEMBLING THE CARD:
After all the coloring was done it’s time to assemble the card. You would think this is the easiest part of it all, not for me:). It took me about 10 mins to figure out the placement of the elements on the card and to decide on the sentiment and its placement as well. I decided to stamp the sentiment directly onto the free hand background panel using black ink. I adhered some droplets on the card for some bling. Using a quickie glue pen, I added some unicorn dust glitter on a few of the elements for some shimmer. All that is left to do is to adhere the finished panel to the side folded white note card.

Thanks for stopping, have a wonderful day and happy crafting.
Preeti


Comments