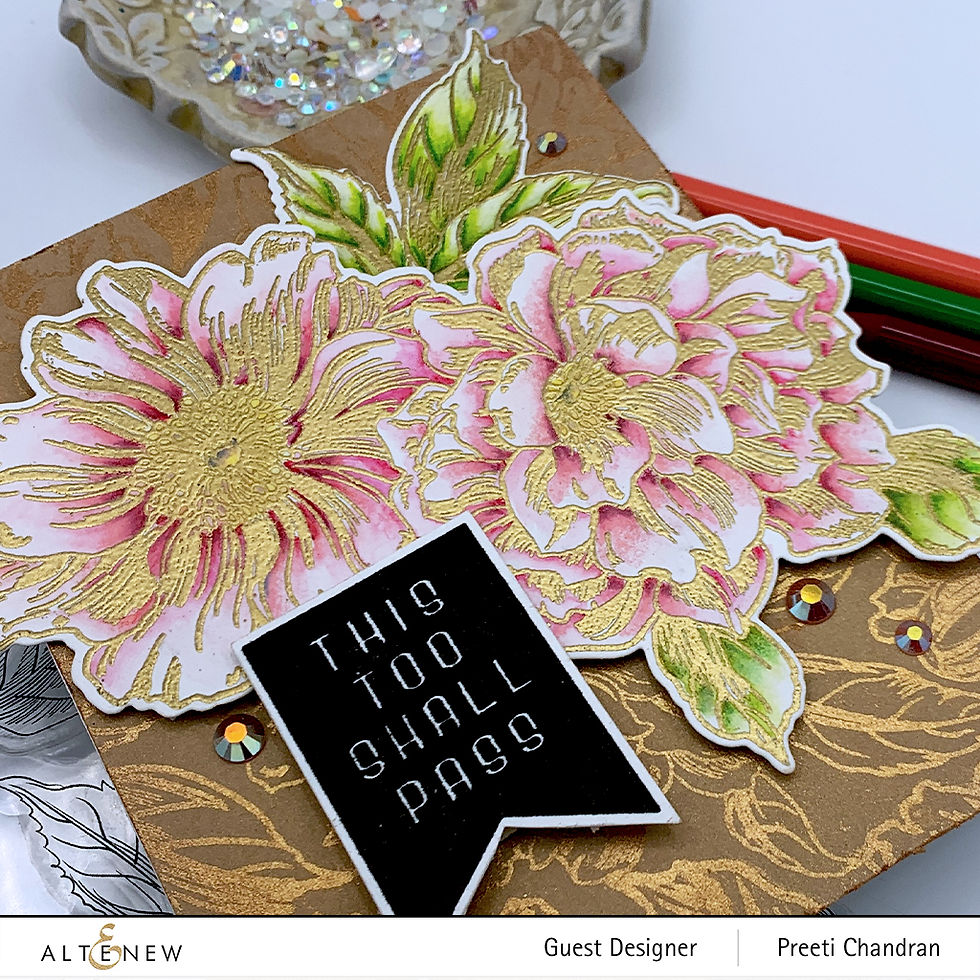
Background Techniques
- Preeti

- Sep 5, 2019
- 3 min read
Hello friends,
I have two cards in this post showcasing different ways to make background. I am currently doing the Beyond Basic Background class from Altenew Academy. This class is taught by the very talented and creative Lydia Evans. I love watching her video tutorials on the Altenew youtube channel called Lydia,s Crafty Corner. She has some very interesting ways of using stamps and other products for card making.
Any how moving on to my first card of the post, I was inspired by the DIY stencil she made for creating the background. I took the same idea and created a DIY stentcil using the Altenew Geo Frames Die. I used the hexagon die and made a repetitive geometric pattern on a masking paper. I then adhered the DIY stencil on a white card stock panel and stamped an image from the Block Print stamp set in versa mark ink. I embossed this print using Hero Arts Satin Pearl Embossing Powder.

After the print was embossed I stamped the coordinating Hexagon stamp from the Geo Frames stamp set in versa mark ink and embossed it with gold embossing powder.
Then I removed the DIY stencil mask and masked the inner lines of the hexagon images with some post it notes. I wanted to ink blend the inside of the hexagon to add color.
I used three shades of Distress Oxide inks to give an Ombre look to the shapes. The Pearl embossing looks really pretty and vibrant after the ink blending was done, I stamped the sentiment in an angle, in order to keep up with the shape. For some sparkle I added some dream drops and adhered this entire panel onto a top folding pink note card. Below is the finished image of card number one.
DISTRESS OXIDE INK:

For the Second card I was inspired by the water bleached background technique and gold foiling background that Lydia did in the class. I put both these techniques in one card and made it a little different. Instead of water bleaching, I used Alcohol lift ink to give it a bleached effect

I started out with Yupo paper and added very similar alcohol ink colors as Lydia did on her ink blended card stock. I poured a generous amount of alcohol blending solution and then started to drop the colors in random order all over the paper. I blew some air through a straw to move the colors and to mix them.
After I was done mixing and moving the colors, I let the panel to sit for a few minutes. Before it completely dried I added some foiling to the panel. The stickiness of the alcohol ink help adhere the foil to it. When the Alcohol ink was completely dry I stamped the foliage image from the Botanical Garden stamps using Alcohol Lift Ink Pad from Tim Holtz. You can see the lift effect on the picture in the right. After all the stamping was done I cut this panel down to 4x51/4 inches.

I stamped the same foliage image on to a white card stock using heat and stick powder to do the gold foiling. the foiling is not very smooth with this technique as you would get when you pass it through a laminator but, I liked that distress look of the image as it added to the overall feel of the card. I also die cut the word hello from the same alcohol ink paper using the Half Tone Hello Die. I offset the hello die onto a black hello die to give it some shadow, and heat embossed an additional sentiment from the Halftone Hello stamp set on black with white embossing powder. I splattered some black paint on to this white panel and adhered it in the left corner of the ink blended card stock as I did not want to cover up my background. I added some gold sequins and I was done.

I hope you enjoyed todays cards and give these technique a go. I am so sorry for this very long post and thank you for bearing with me so patiently. Have a great day, keep smiling and spreading handmade kindness!!
XXX


Beautifully done!
Thank you for entering your gorgeous work to the AECP assignment gallery. Well done!